Water Loss Tear-Out and Rebuild
Drywall Repair After Water Damage
Wet drywall comes off in a straight line, and where that line lands decides how much of your wall gets opened and how much has to be matched back. We read the wall with a moisture meter before a blade touches it. Call at any hour and we respond within an hour, 24/7. The on-site estimate is free, and the crew that opens the wall is the crew that hangs, textures and paints it back.
Request Help Online
What the stain shows
How Far Water Travels Inside a Wall
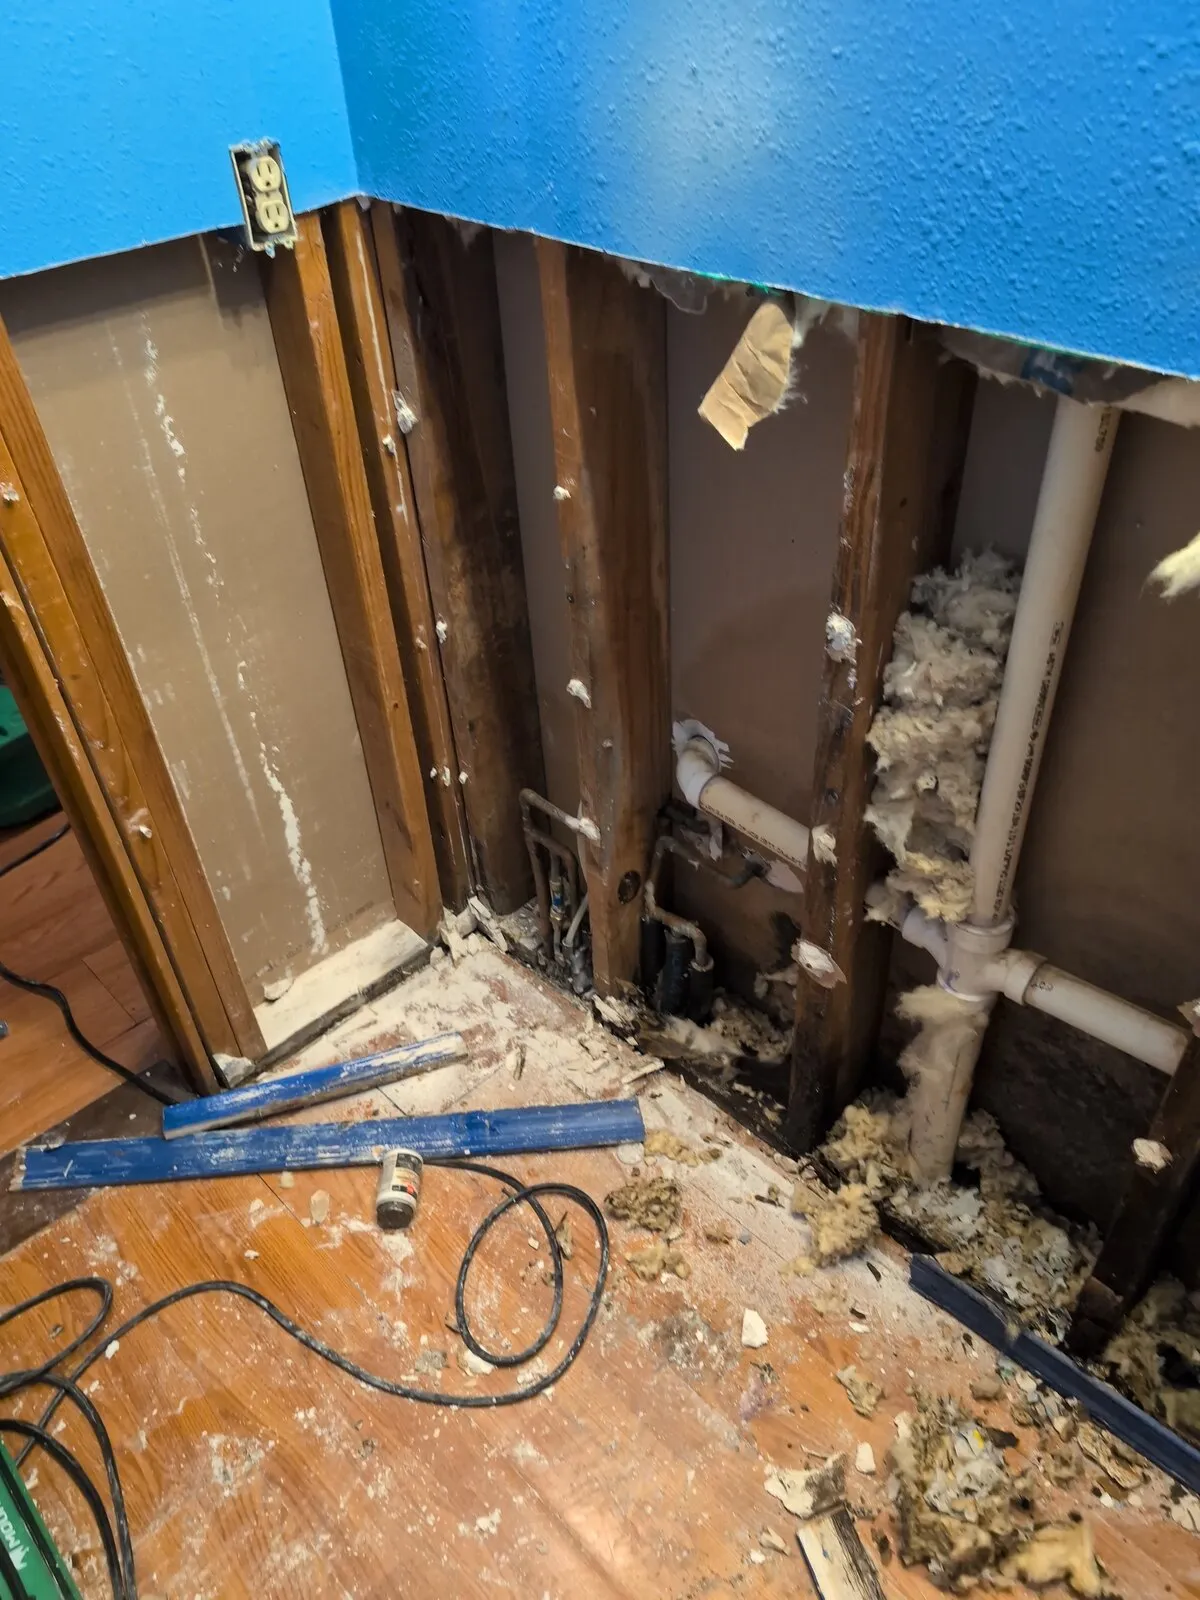
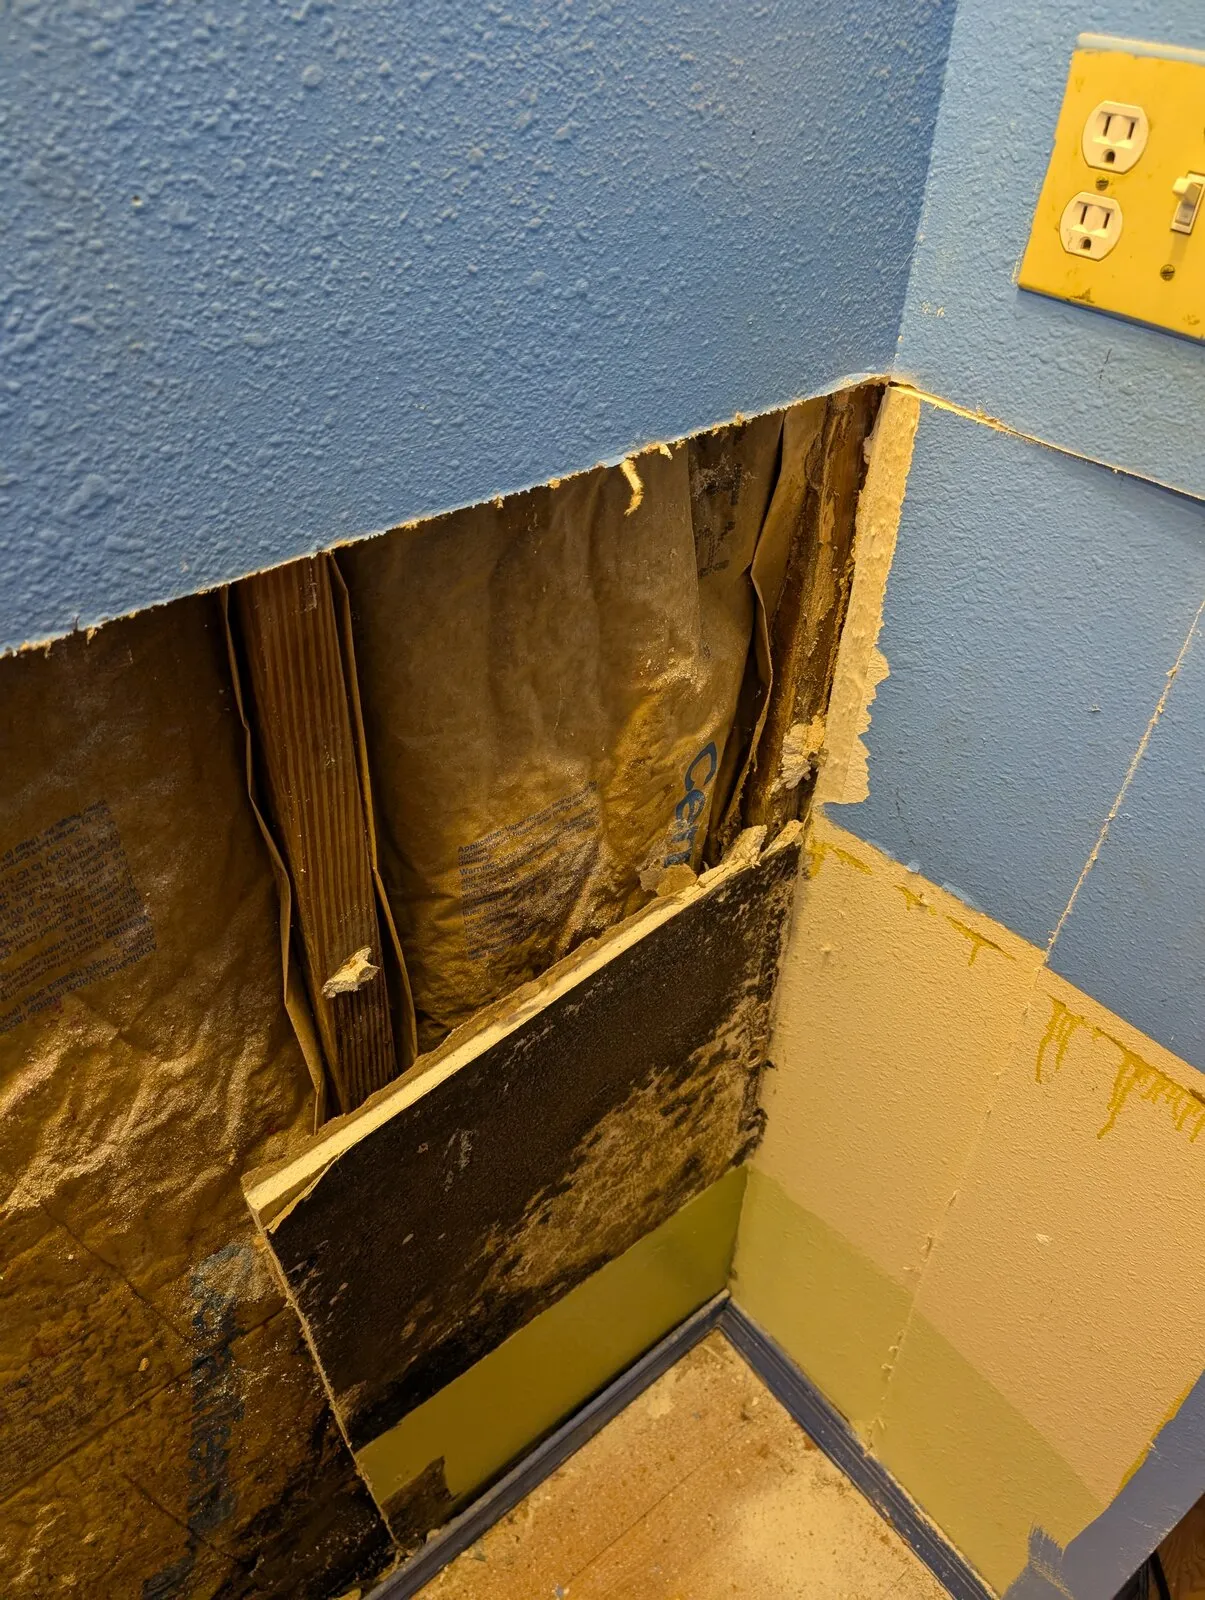
Gypsum wicks. Water that sat on the floor for a few hours climbs the core and the paper facing well above the line it leaves on the paint, and the back of the sheet stays damp after the front feels dry to a hand. Insulation in the bay holds it longer, and the bottom plate behind the baseboard longer still. The stain marks where the water showed. The wet board usually keeps going past it.
That is why the readings come first. A calibrated moisture meter walks the base of the run and then works up the wall, and a thermal imaging camera picks up the cool band where moisture is still evaporating behind the paint. We take the framing as well as the board, because a stud holding water is a problem the finish will find later. Nothing gets opened up until we know how high the damage actually runs.
Scope of Work
What the Repair Includes
Two jobs stack up in a drywall repair: getting the wet material out and the cavity dry, then rebuilding the wall so the finish reads continuous across it. We do both in house, with our own crew of 6.
Wet-Line Mapping
We mark the wet line on the wall itself before demo starts, so you can see the boundary the cut is going to follow.
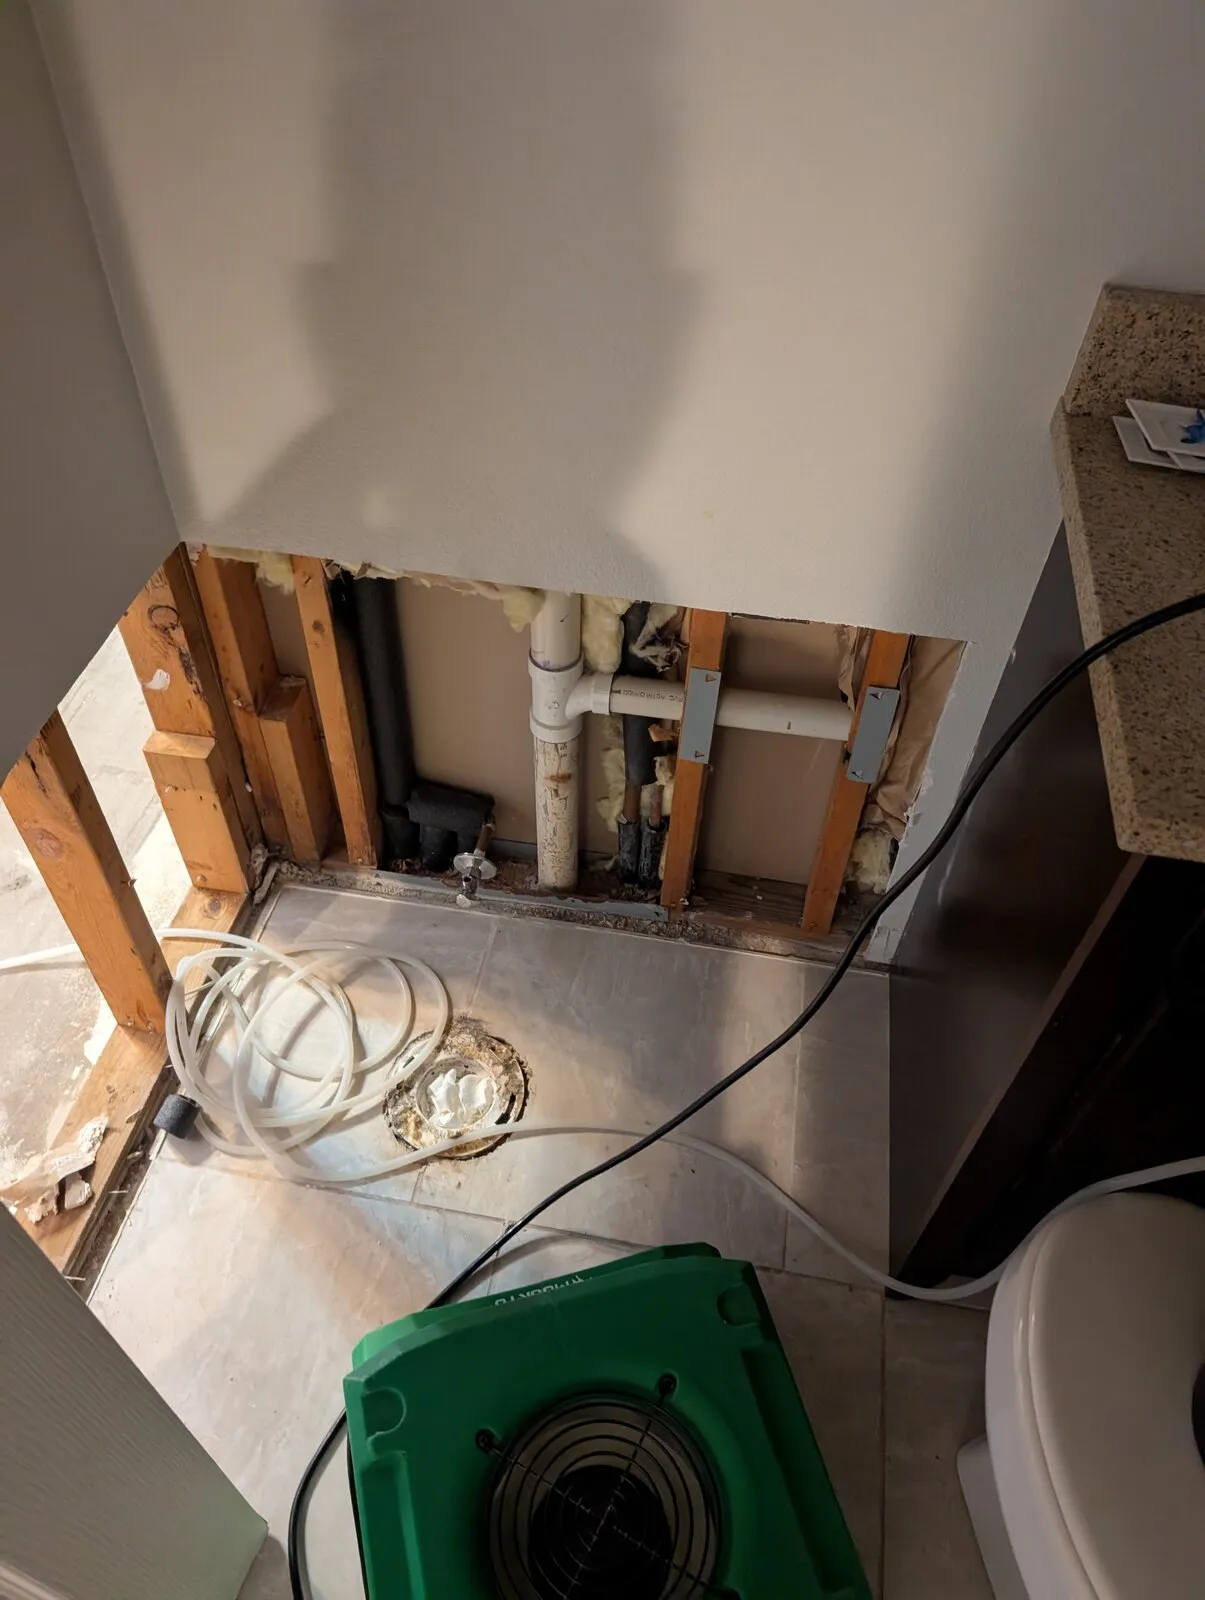
The Flood Cut
Wet board comes off in one straight run above the marked line, stopped at the center of a stud so the replacement sheet has framing to land on.
Cavity Drying
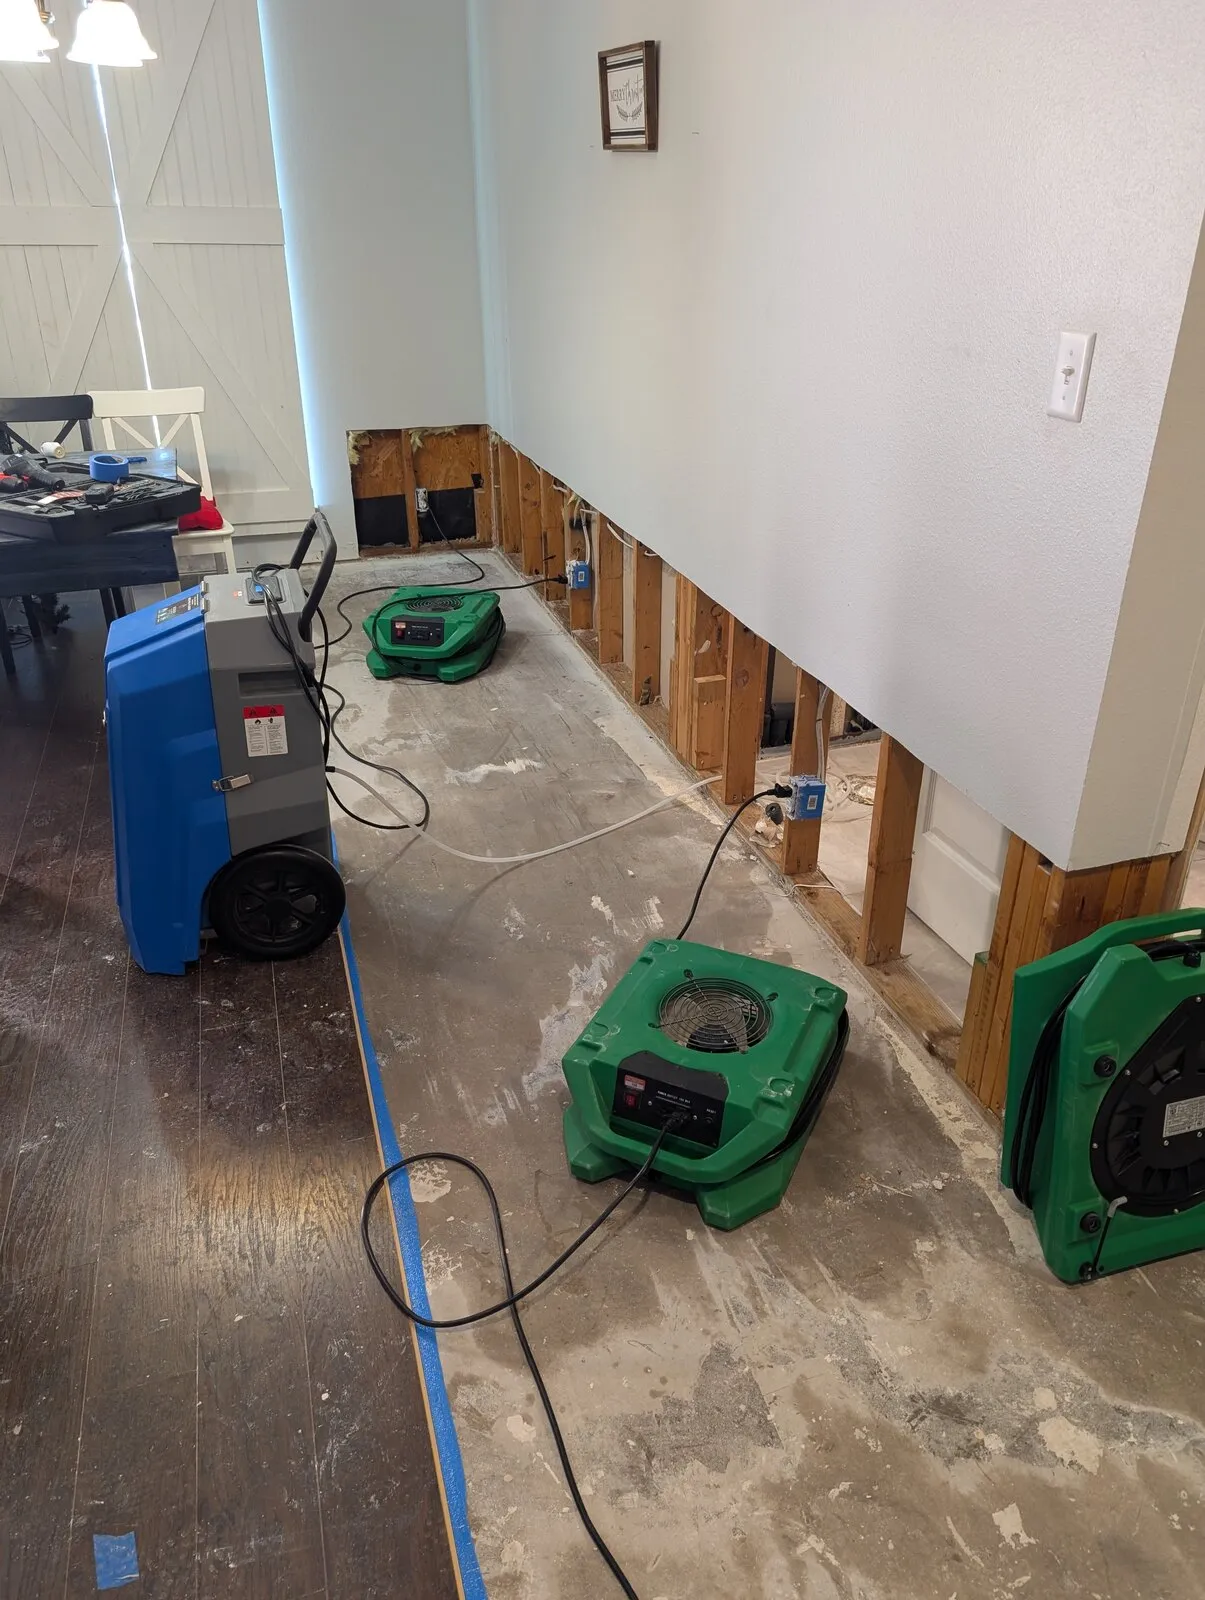
Air movers and commercial dehumidifiers run on the open bay. Where the wall can stay whole, Injectidry panels dry it through small holes instead.
Insulation and Trim Out
Saturated batt insulation leaves with the board. Baseboard and casing come off ahead of the blade so they can go back on rather than be replaced.
The Open-Bay Look
While the bay is open we check the framing, the wiring boxes and the back of the far sheet. That access closes again as soon as new board goes up.
Hang, Tape and Float
New board at the existing thickness, screwed off, taped, then floated wide enough that the joint sits flat under raking light.
Texture and Paint
Texture shot to match the surface around it, then paint that stops at a corner or a ceiling line rather than partway across a wall.
Scope to Your Carrier
We meet your adjuster on site to walk the loss, and take up scope and pricing disagreements with them on your behalf.
Order of Work
From the Call to the Last Coat
Each step waits on the one before it. The readings set the pace: new board hung against framing that is still holding water becomes a finish problem months later.
The call
Call at any hour. We respond within an hour, 24/7. We'll ask what got wet, how long it sat there, and whether water is still coming in.
On-site look and estimate
We walk the loss, take the readings, and mark the cut line on the wall where you can see it. The visit costs nothing, and you get a written scope covering the tear-out and the rebuild, priced before any finish goes back on.
Trim off, then the cut
Baseboard and casing come off and get set aside for reuse. Wet board is cut to the marked line and back to a stud, and soaked insulation leaves the bay with it. Debris gets bagged at the wall.
Drying the opened wall
Air movers and dehumidifiers go on the bay until the framing and the board around it read dry on a meter. Those readings decide when the equipment comes out and when board can go back up.
Board back up
New sheet hung at the existing thickness and screwed off, joints taped and bedded, then floated wide and sanded. Dust gets pulled with a HEPA vacuum before any texture is mixed.
Texture, paint, trim
Texture is matched on a scrap board and held up against the wall first. Then primer over all the new work, the finish coat carried to the nearest break, and the trim goes back on.
Where the cut goes
The Cut Line, and Getting the Finish Back to Match
The line that decides this job isn't the edge of the stain, it's the top of the reading. A slow leak under a dishwasher can leave a mark the size of a hand and a wet line two feet up the wall, so the cut runs high. Water that ran down the face of a sheet from a fitting above can leave a wide, ugly stain over board that reads dry an inch outside it, so the cut stays small. We set the height off the meter, then take it up to the nearest place that gives a clean seam: often 2 feet or 4 feet off the floor, because a horizontal joint at a sheet edge is the one a finisher can hide.
Both edges of the opening have to land on framing, so the cut stops at the center of a stud and the new sheet shares a nailing surface with the old one. That is what keeps the seam from opening up later. What leaves with the board catches people out: wet batt insulation, which holds water long after the framing has given it up, and the baseboard and casing, which come off first and get set aside for the finished wall. The cut also waits. Board doesn't go back against framing that still reads wet, so the drying readings decide when the rebuild starts.
Then the wall has to match, and texture is where a repair gives itself away. Orange peel, knockdown, stomp and skip trowel each come off a different setting and a different hand, and judging it straight onto the wall means the first attempt is the one you live with. We mix and shoot the texture on an offcut, hold it against the surrounding surface, and adjust until the two read the same. Paint follows the same rule: a new coat beside an aged one leaves a halo, so we prime the new board and compound and carry the finish coat to the nearest natural break, corner to corner. If you still have the leftover can or the color code from the last time the room was painted, that's the closest match there is and we'll use it.
Call (903) 993-5663What Decides the Cut and the Match
- How high the meter reads wet, which is often above the stain and sometimes below it
- Where the nearest stud center falls, since both edges of the opening need framing behind them
- Whether a horizontal seam can land at a sheet edge, the joint easiest to hide
- Whether the bay is insulated, which changes how long the cavity takes to read dry
- Whether the trim comes off whole, which decides if it goes back on or gets replaced
- The texture already on your wall, and whether it was sprayed or worked by hand
- Whether you still have the leftover paint or the color code for the room
- Where the nearest corner or ceiling line sits, since that is how far the finish coat carries
Related Services
Where This Repair Starts
Where the water came in, and how dry the wall has to read before board goes back, both change what this repair turns into.
Water Damage Restoration
The full sequence a wet wall sits inside: extraction, drying, then the rebuild. Start here if water is still moving in the house.
Learn MoreStructural Drying
The cut waits on the readings, and this covers how those readings are taken and when a wall counts as dry.
Learn MoreRoof Leak Water Damage Repair
Water from overhead runs before it shows, and it opens walls in rooms the leak never reached. This follows one entry point down through the house.
Learn MoreSTILL GOT QUESTIONS?
Frequently Asked Questions
The questions that come up once the water is out and the wall is what's left. If yours isn't here, call (903) 993-5663.
24/7 Emergency Response
Free On-Site Estimate for Drywall Repair After Water Damage